

My good friend Ray got me wise to this new photo editing software called Affinity Photo. Well, it was “new” to me. It’s been around for a while, judging from all the videos about it on YouTube.
I’d been grousing about how much it was costing me to have Adobe PhotoShop on my computer. I use it maybe once every 2 or 3 months; but I have to pay $15 every month for my subscription.
Affinity Photo (AP) isn’t a subscription product. You buy it once (currently U$50), and you own it. Well, until they put out another major version, I imagine. But, I’m OK with that. So bye bye PhotoShop!
The program is very full-featured. Anything you want to do with an image, or to an image, you can probably find a video on YT explaining how to do. Except for positioning your image on a page when you’re printing from AP. (At least, I couldn’t find one.) Ray did walk me through a workflow which worked really well for me. But I don’t actually print all that often; so I forgot how it went.
Ray-the-infinitely-patient showed me again. This time I vowed to write it down, and perhaps even make a screencast video of it. Which, of course, I didn’t. Guess what? I forgot the workflow.
So when I again needed to print an image in the middle of the page, I tried to figure it out on my own: I did NOT want to admit to Ray that I’d forgotten this TWICE! Instead I posted the question to the AP sub on Reddit. And within 30 minutes, some good Samaritan had replied.
In recognition of Ray and the Redditor’s generous help, I’m going to describe the workflow here for you. (Really, it’s for me.)
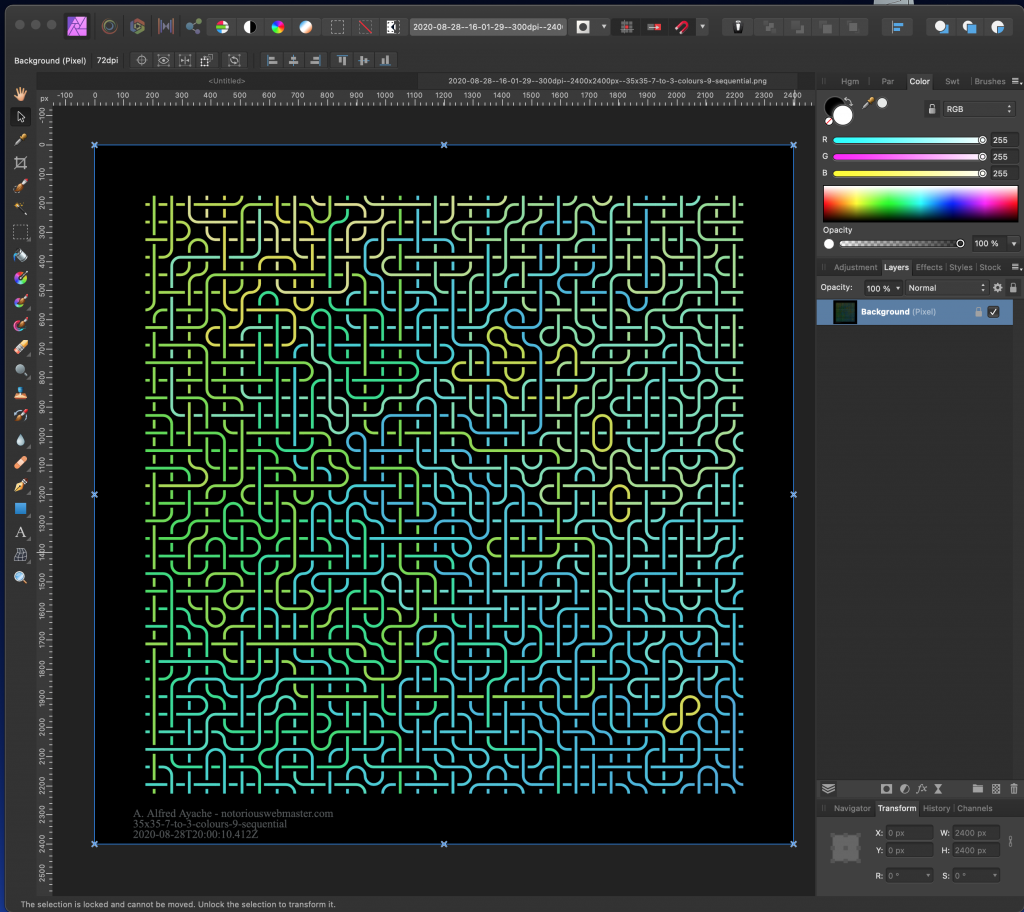
Here we go: in AP create a new document, specifying the dimensions of your page. I’m using an 8.5″x11″ page, so it looks like so:
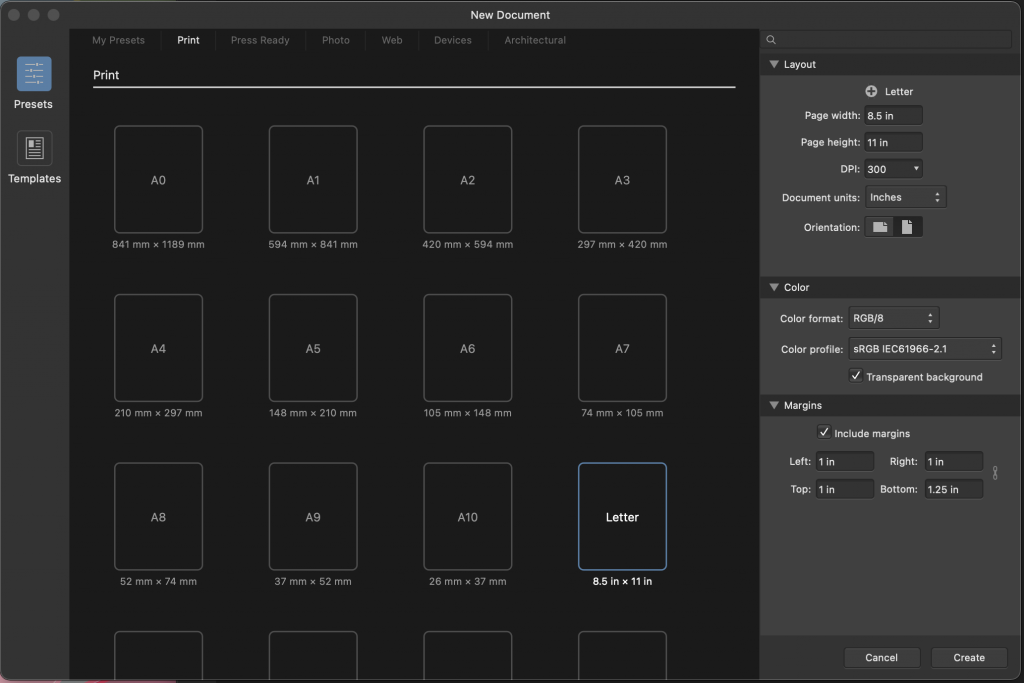
This will show you a blank document. If the blue, vertical rectangle appears, it’s the margin. You can hide it in the View menu.
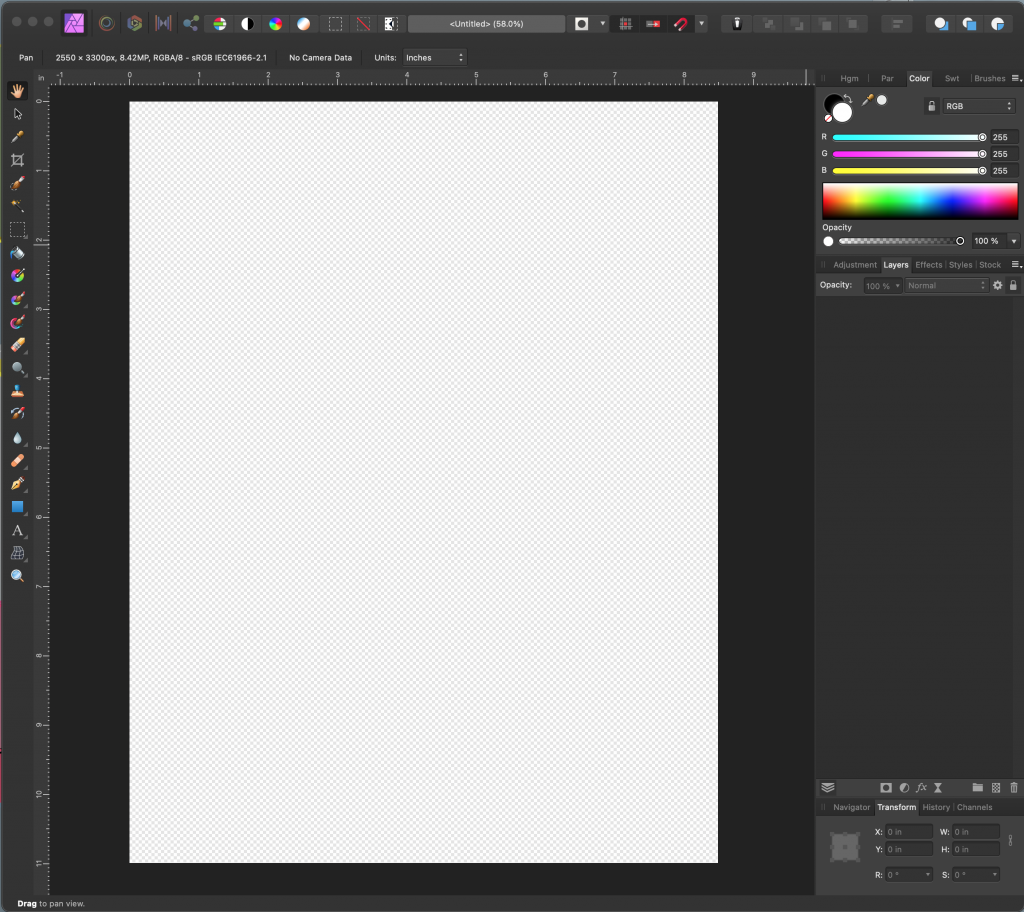
Now we open the image we want to position on the page. It helps if the resolution of the image matches the resolution of the page document; but it’s not imperative.
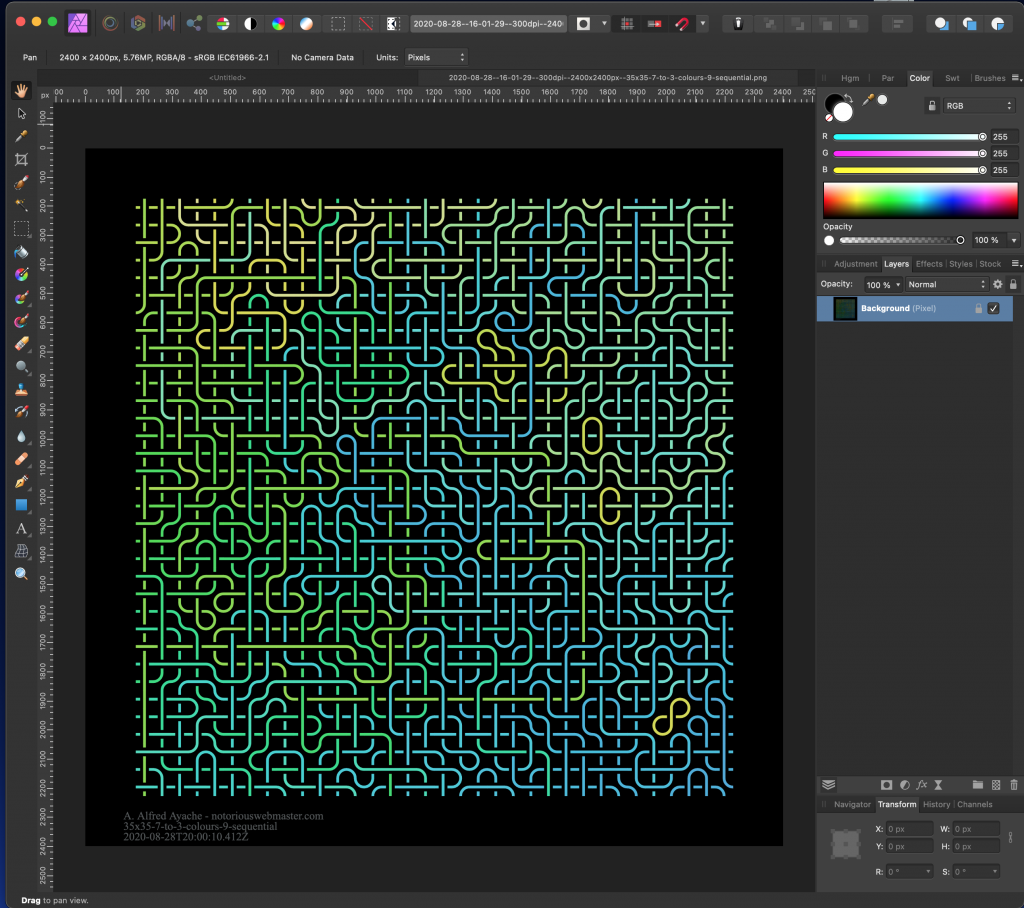
Select the Move Tool [V] and click on the image. This will select the image. Now copy the image into the clipboard by either pressing cmd-C or using the context menu (right-clicking on the image) and selecting Copy.
Now move over to the page document, by clicking the tab above the workspace, and paste the copied image by hitting cmd-V, and select the Move Tool again. You’ll note the image is much larger than the page document.
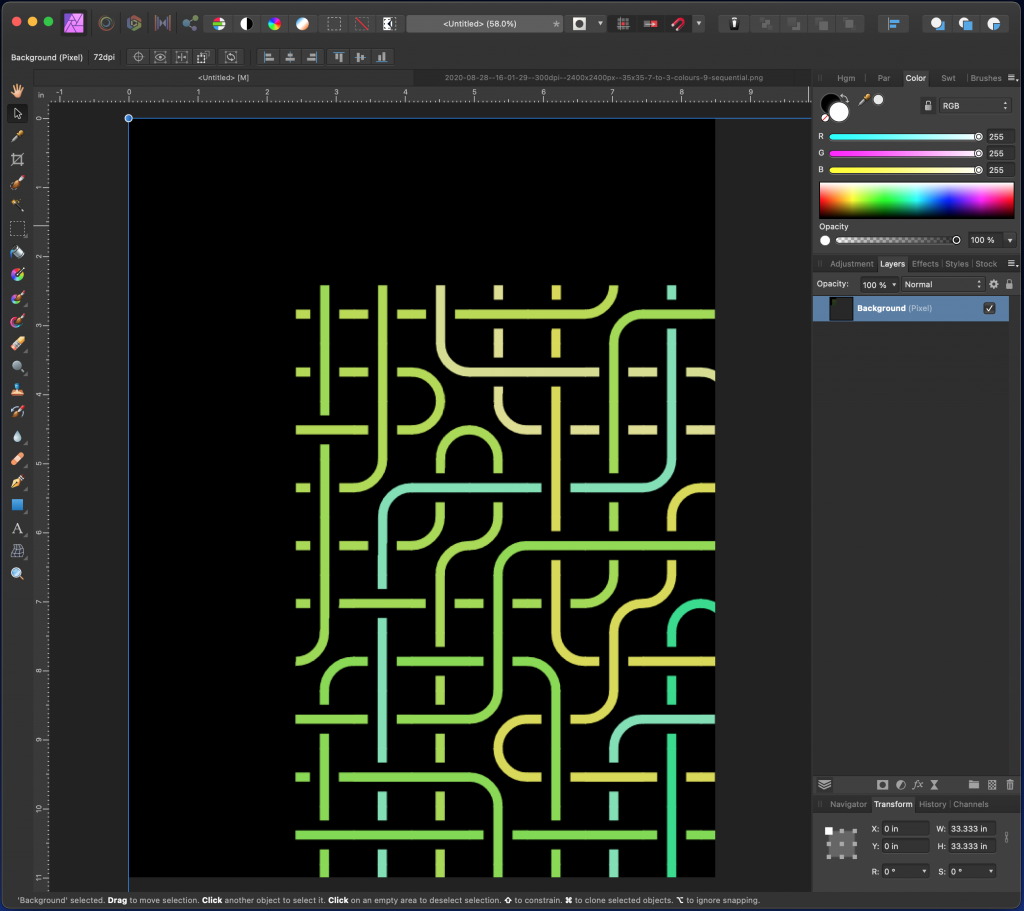
Note the Transform tab in the right margin of the workspace. You can go in and adjust the width and height of the selected image.
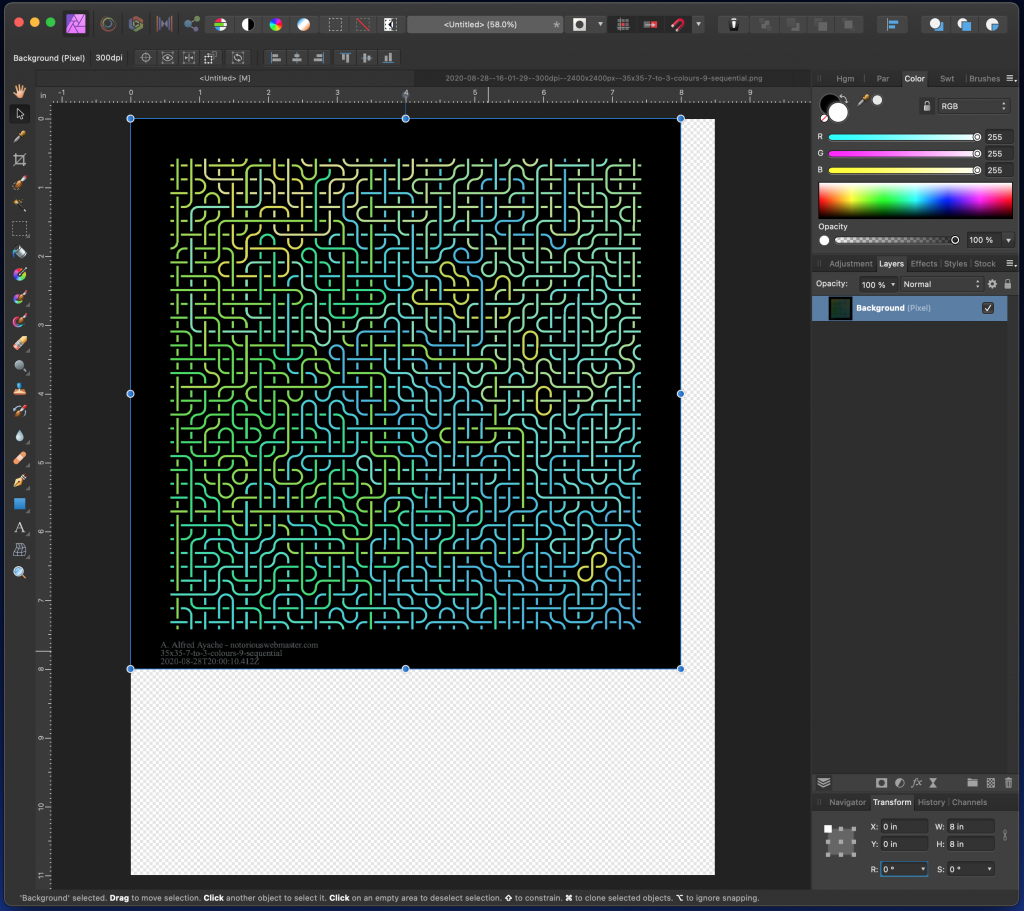
Now we want to position the image in the middle. We can either do it manually by dragging it; and we’ll be helped by guides when we get to the middle, both vertically and horizontally. Or we can use the positioning buttons at the top right of the window.
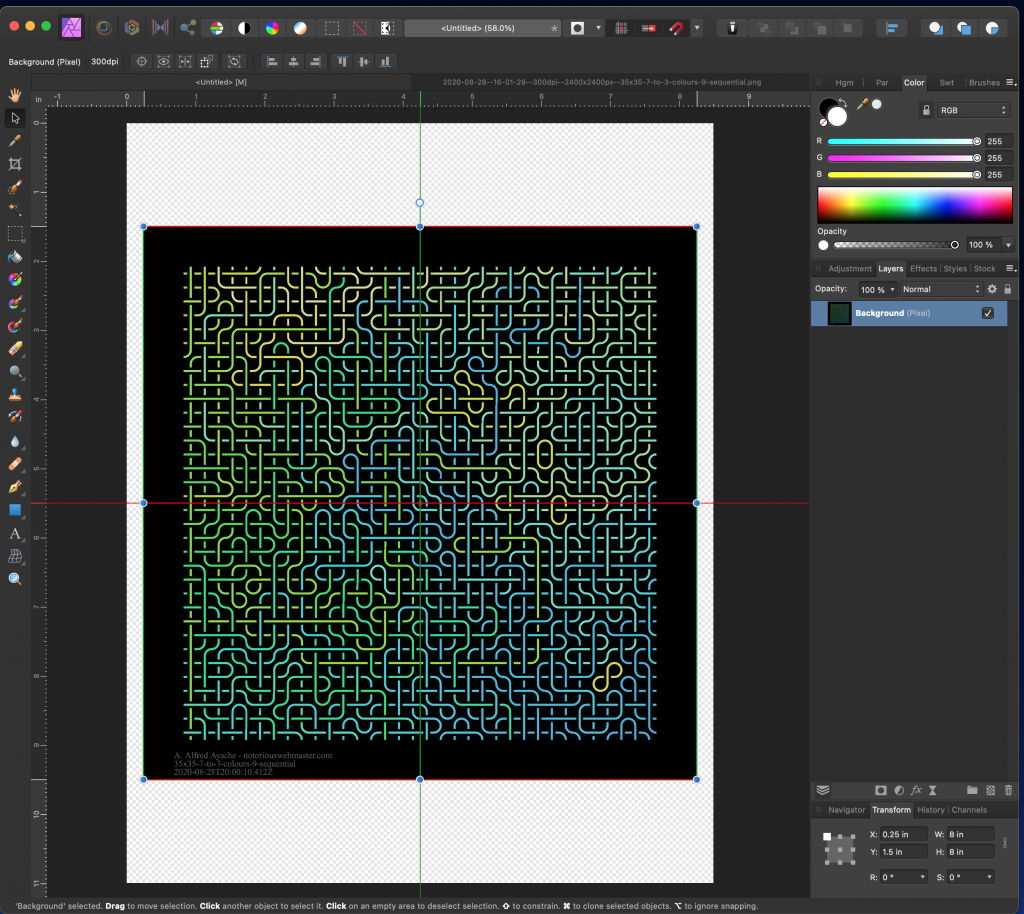
And here’s the alignment dialog method (in the upper right corner):
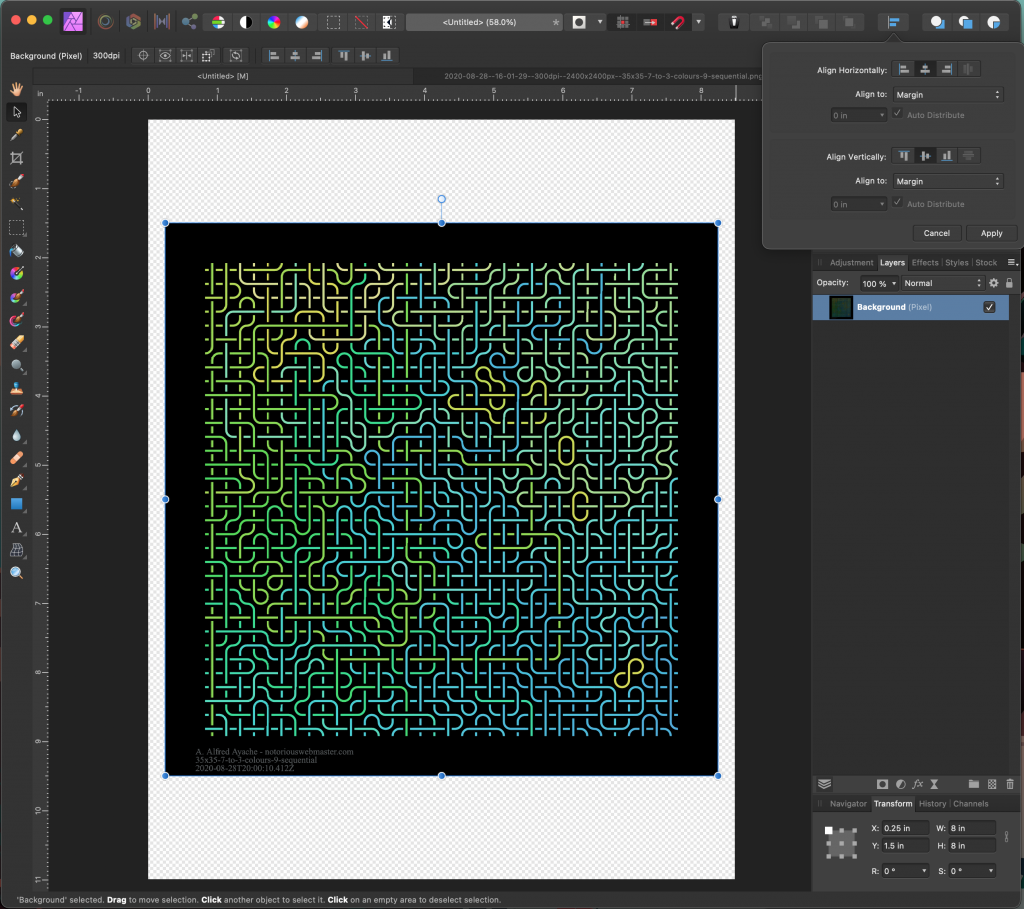
And now you can print the page document, and your image will appear in the proper position. I’ll be working on a video version of this tutorial; but no promises as to when (or if) that will happen.
Stay safe, wear a mask, practice social distancing. The end is nigh.
UPDATE [2024-06-09]: One more thing that Ray shared with me, which I need to document in this workflow, is how to determine which side of the paper to print on. I use Epson Ultra Premium Presentation Paper MATTE, and like most papers, it has two sides. Unlike many papers, one side is meant for printing, and the other is not. The problem is, they both look the same. Until you print on the wrong side; and then it’s pretty evident which is which.
But until you actually print and see whether it looks good or not, there’s no way to eyeball it. At one point I thought you could take two pieces of paper and compare them; but if I could tell at the time, I certainly can’t anymore.
So Ray’s trick is to slightly moisten your thumb and forefinger and touch both sides of a corner of the paper, then immediately let go. One side will stick to a finger a little longer than the other. We’ll call that the “sticky” side. That’s your printable side. (Aren’t you grateful for opposable thumbs?)
I use the free, open source GIMP photo editor:
https://www.gimp.org/
I’ve used it for years. Sometimes it’s hard to figure out, but I’ve always been able to find a relevant tutorial for my needs.
Yep, I’ve used the GIMP many times. But I deserve a better UI. Not to take anything away from the brave souls who spend time creating this open source tool: I am grateful.
I like your artwork.
Thanks Peter!